Recently I decided to try mixing some of the older material from 'Copsho' in REAPER, using stems generated from Ableton Live. Here are some notes on how that process went.
Exporting stems from Ableton Live
First, I should say that I'm using Ableton Live 9.1, which just came out.
This is the easy part. To get the highest quality, I made sure the samples in the project were all of the same sample rate. Maybe there is an easier way to do this, but I just click on the samples and look at the clip view.
To export stems from Live:
- File -> Export Audio/Video ... (or command-shift R)
- Rendered Track: Individual Tracks (this is what makes Live export stems)
- Make sure the file type, sample rate, bit depth are set to be the same as all the audio clips.
- Click Export
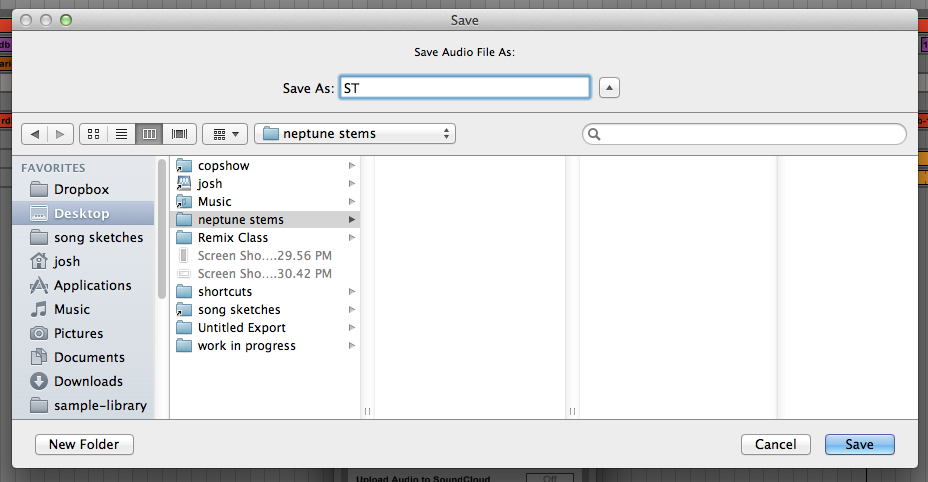
- Make a new folder in the save dialog, and select it.
- Enter a name. This will be used as a prefix for all the resulting file names. Since you have a folder created in the previous step, chose a short name.

- Click Save. Live will now generate stems for all tracks. Returns, groups, everything.
Remember the following for the import into REAPER:
- Sample rate, bit depth
- Song tempo
Dropping the stems into REAPER
You can pretty much just drop the stems into REAPER. However, there are a few setup steps that will make life easier:
- Launch REAPER, create a new project.
- Set the tempo of the new project to the tempo of the Live set: File->Project Settings...
- In the Project Settings tab, set the Project BPM.
- Save the project, check Create subdirectory for project so you have a place to put the stem files.
- For convenience, move (or copy) all the stem files into the new project folder.
Now you can drag and drop the stem files into the REAPER project.
When REAPER asks, select
Separate Tracks.
That's pretty much it. Now you should have a self contained REAPER project folder with all the stems in it.


